It’s that time of year again! It’s starting to get colder and I’m putting up my summer decorations and moving on to fall. Except since this is really my first year of doing seasonal decorations I don’t have any fall things to put up. And you know I’m not going to be spending big bucks on pre-made wreaths and centerpieces. I’m going to share what I did to spruce up the apartment for fall all for about $15.00.
My first project: monogram wreath
I’ve been seeing all these adorable door wreaths on pinterest and really wanted to have one for the apartment. Looking at stores around here like Micheal’s and Canadian Tire fall wreaths were $20-$40 dollars. I even found some online as high as $100! A hundred dollars! For a wreath you only have on your door three months out of the year! I could spruce up our entire apartment on a hundred bucks. So after seeing those prices the cheapo in me came out full force and I decided I was going to make an adorable wreath to put those expensive ones to shame, and it was going to be customized to boot. And it was! I’m extremely happy with how it turned out.

DIY it:
Here’s the big bundle of all the things that I got to do my decorating. There’s a few strings of leaves, I got two of them 5 ft for $1.25 and the other was sparkly and was $3. Then I have some ribbon, $1, the wreath, $2, the bowl, $1.25, flowers, $2, and a sprig with leaves and some berries and an acorn for $1.25. I was calling it my “fall haul”, lol.

Phase one: The letter
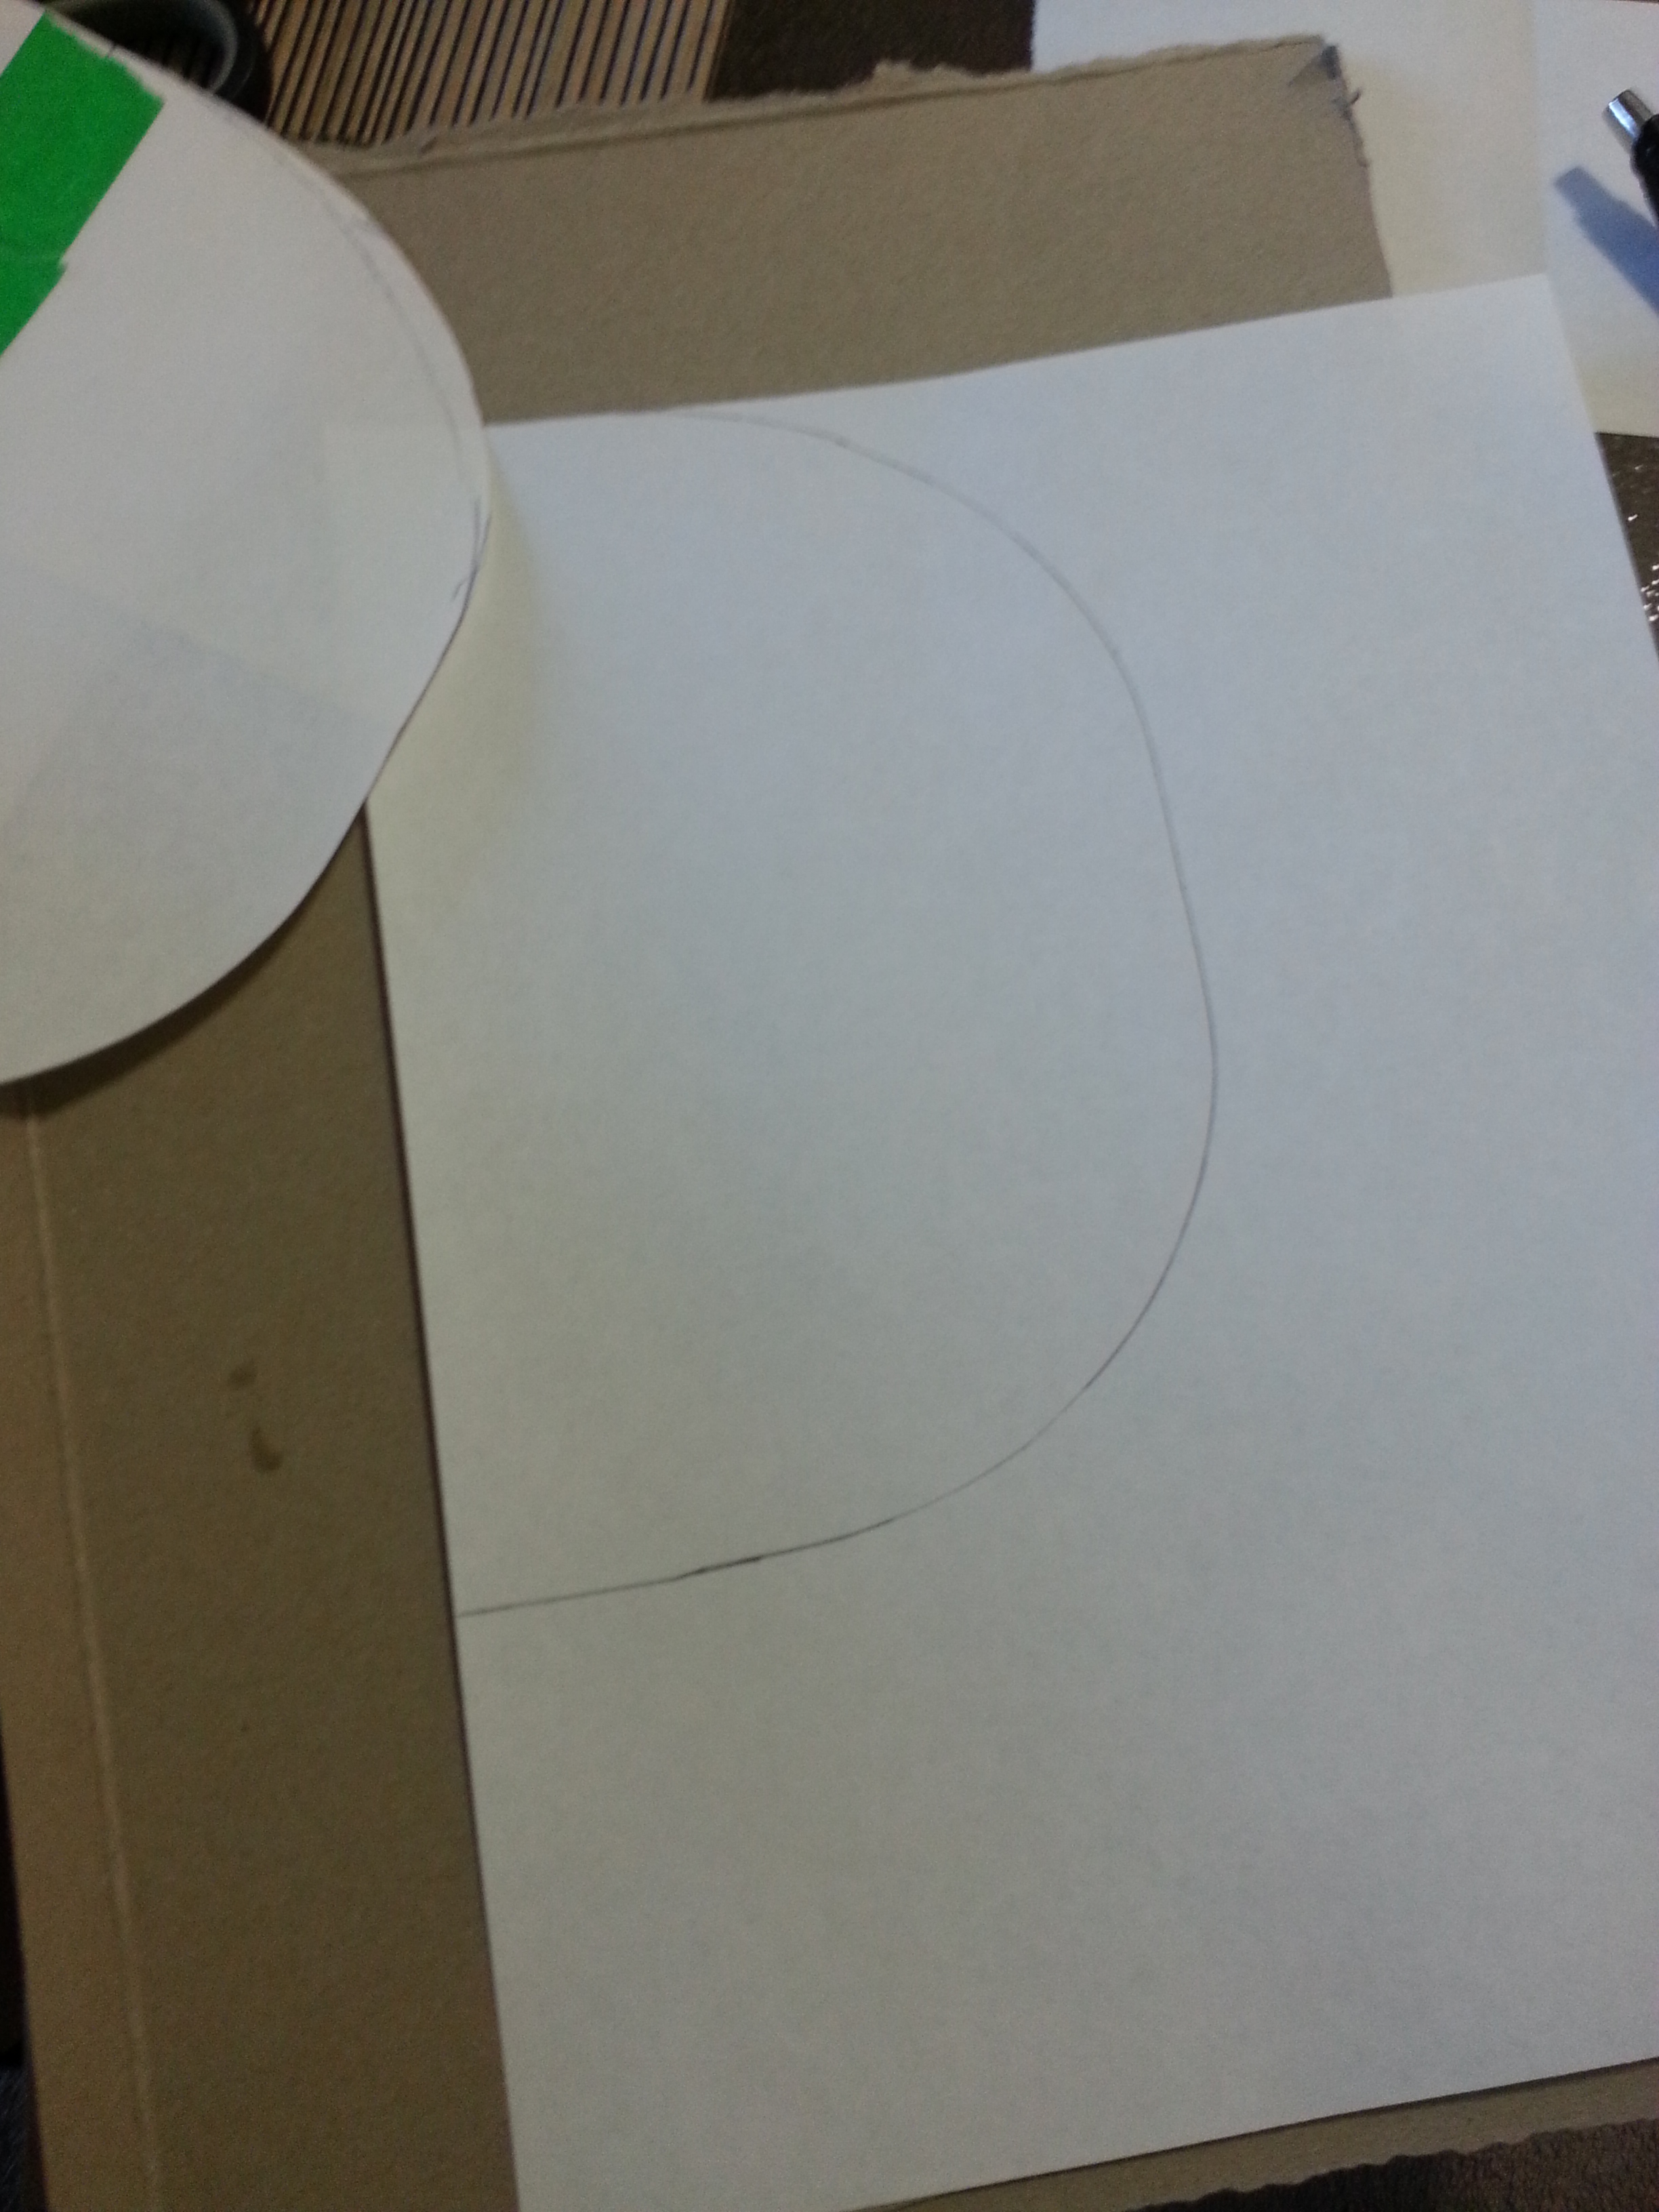
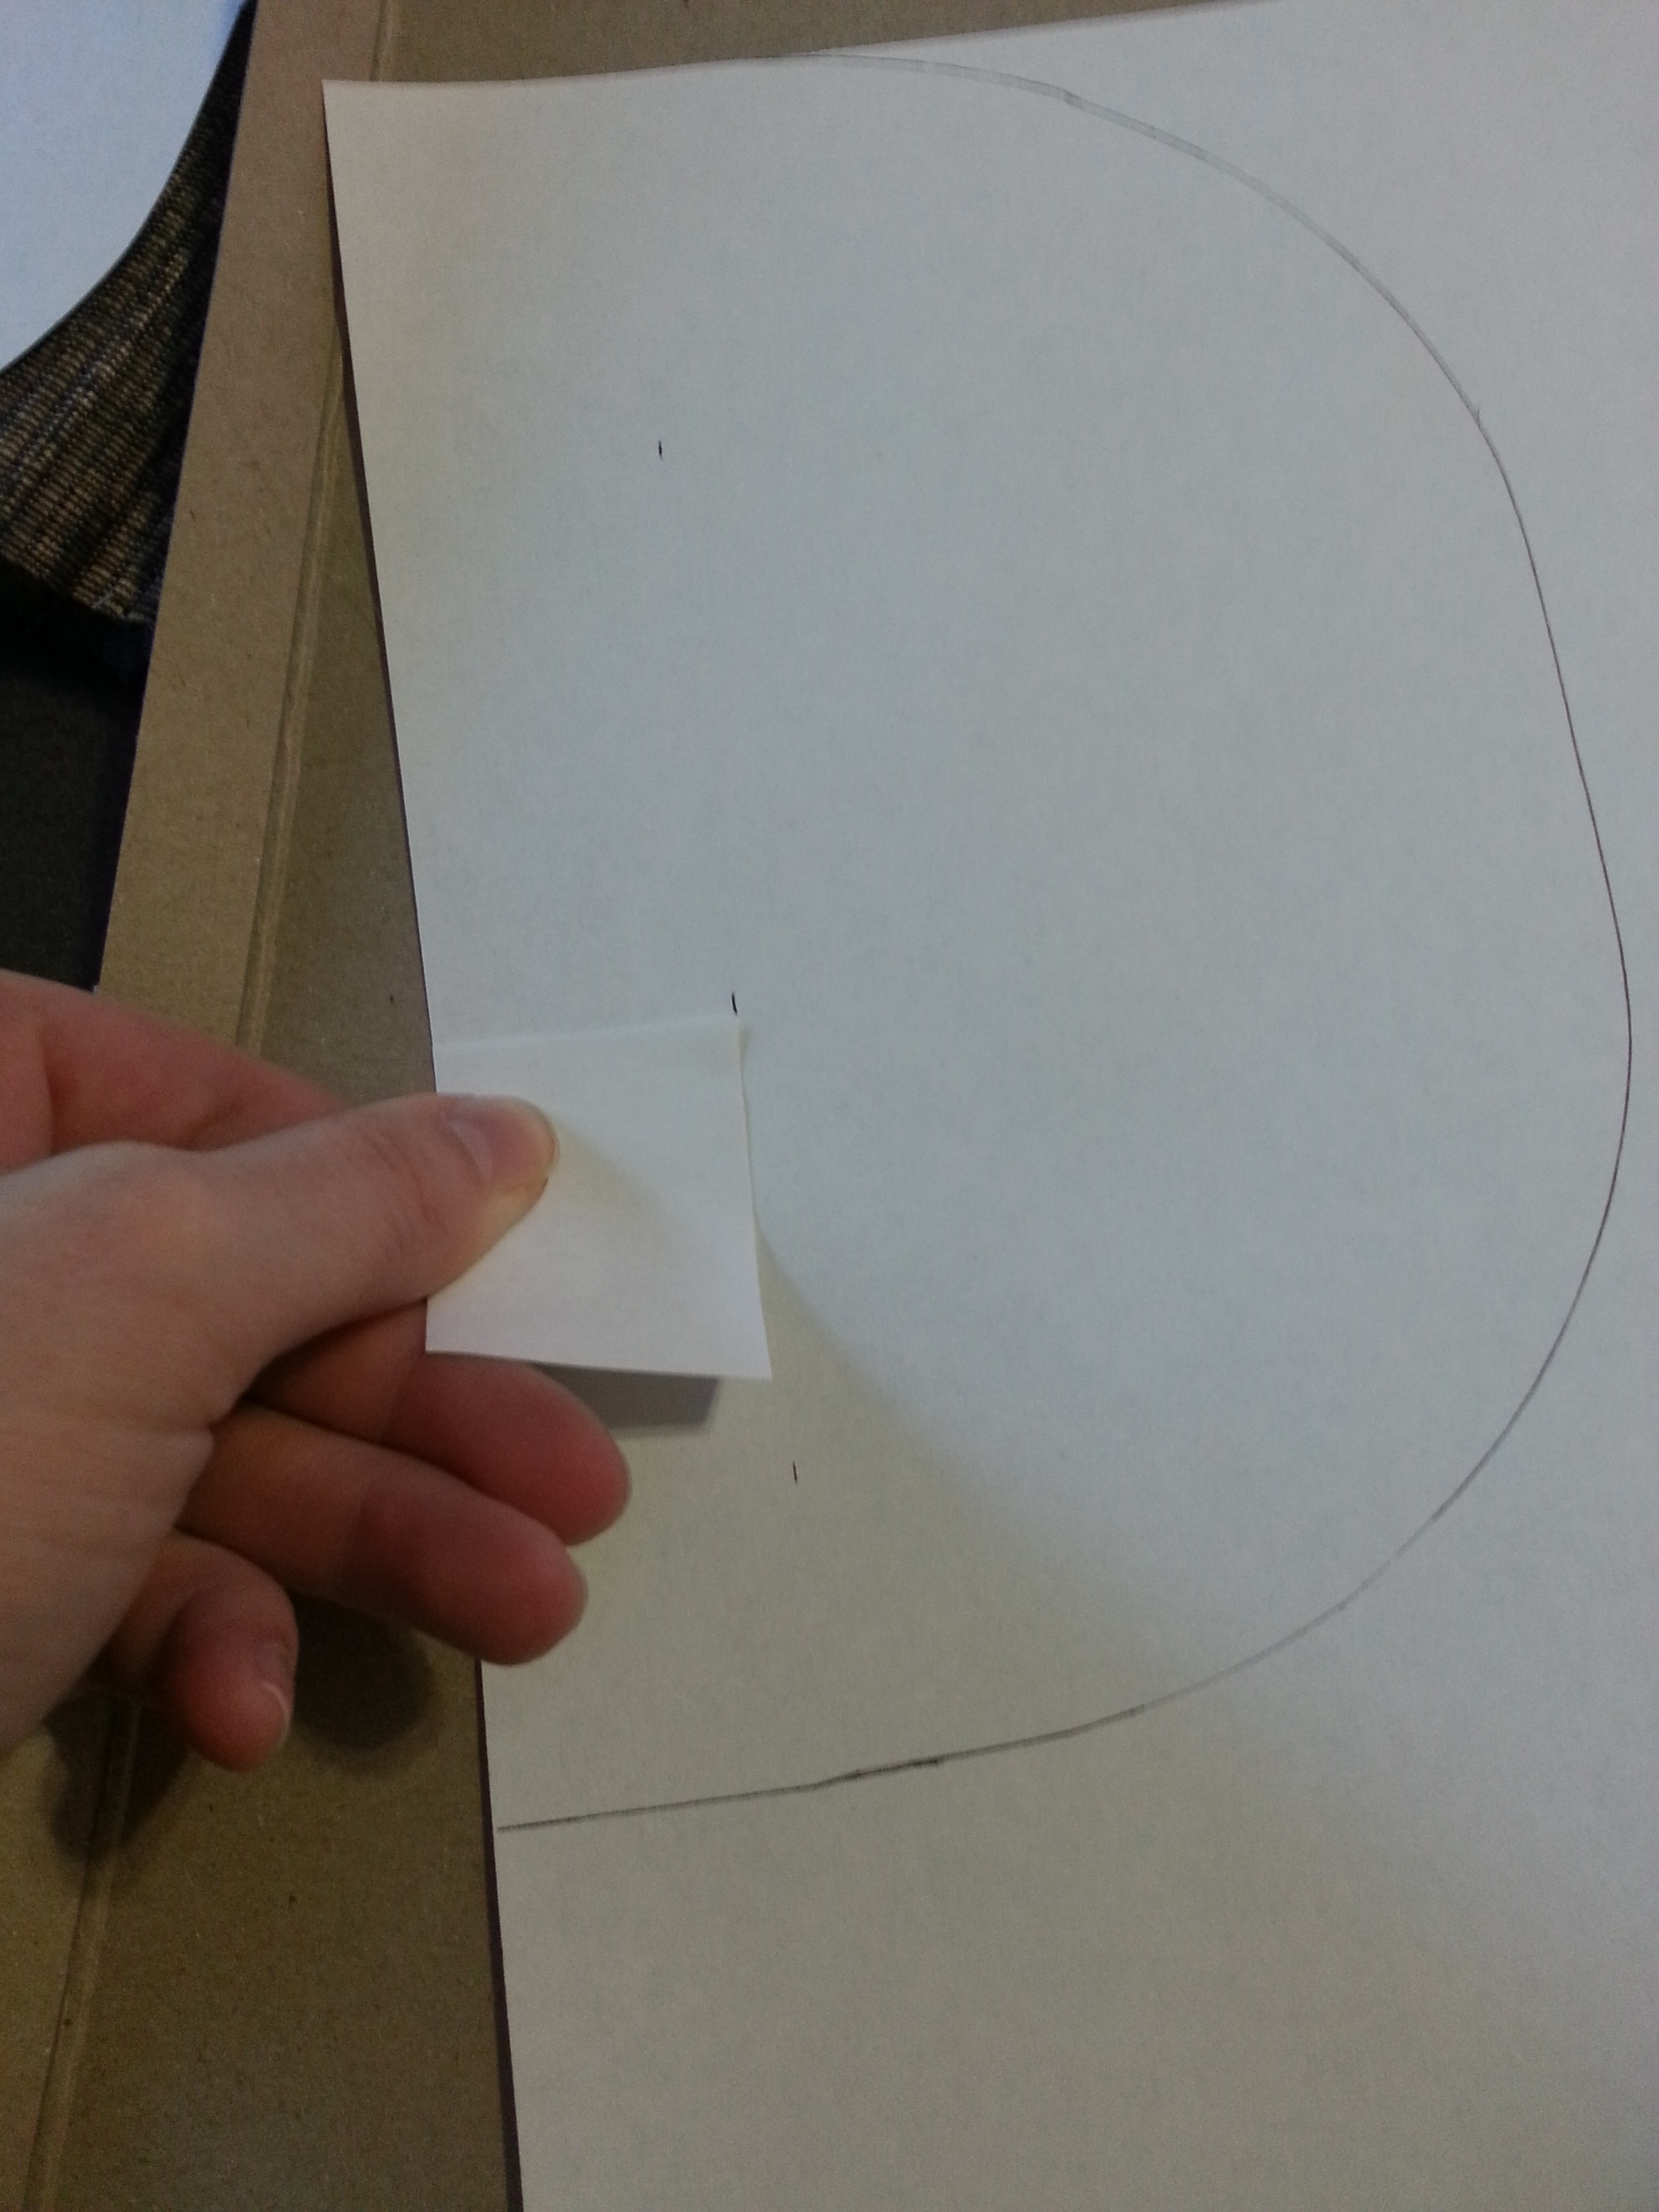
First I started with the monogram. I cut out a stencil of how big I wanted my letter to be on computer paper. In this picture I hadn’t cut out the middle yet. I also originally made it a little smaller than I wanted to so I just used some tape to make it a little wider. I retraced it to get it as one single piece and cut a scrap of paper to the thickness I wanted my letter to be, making tick marks all around the inside. That way I knew that my letter would be even all the way around.

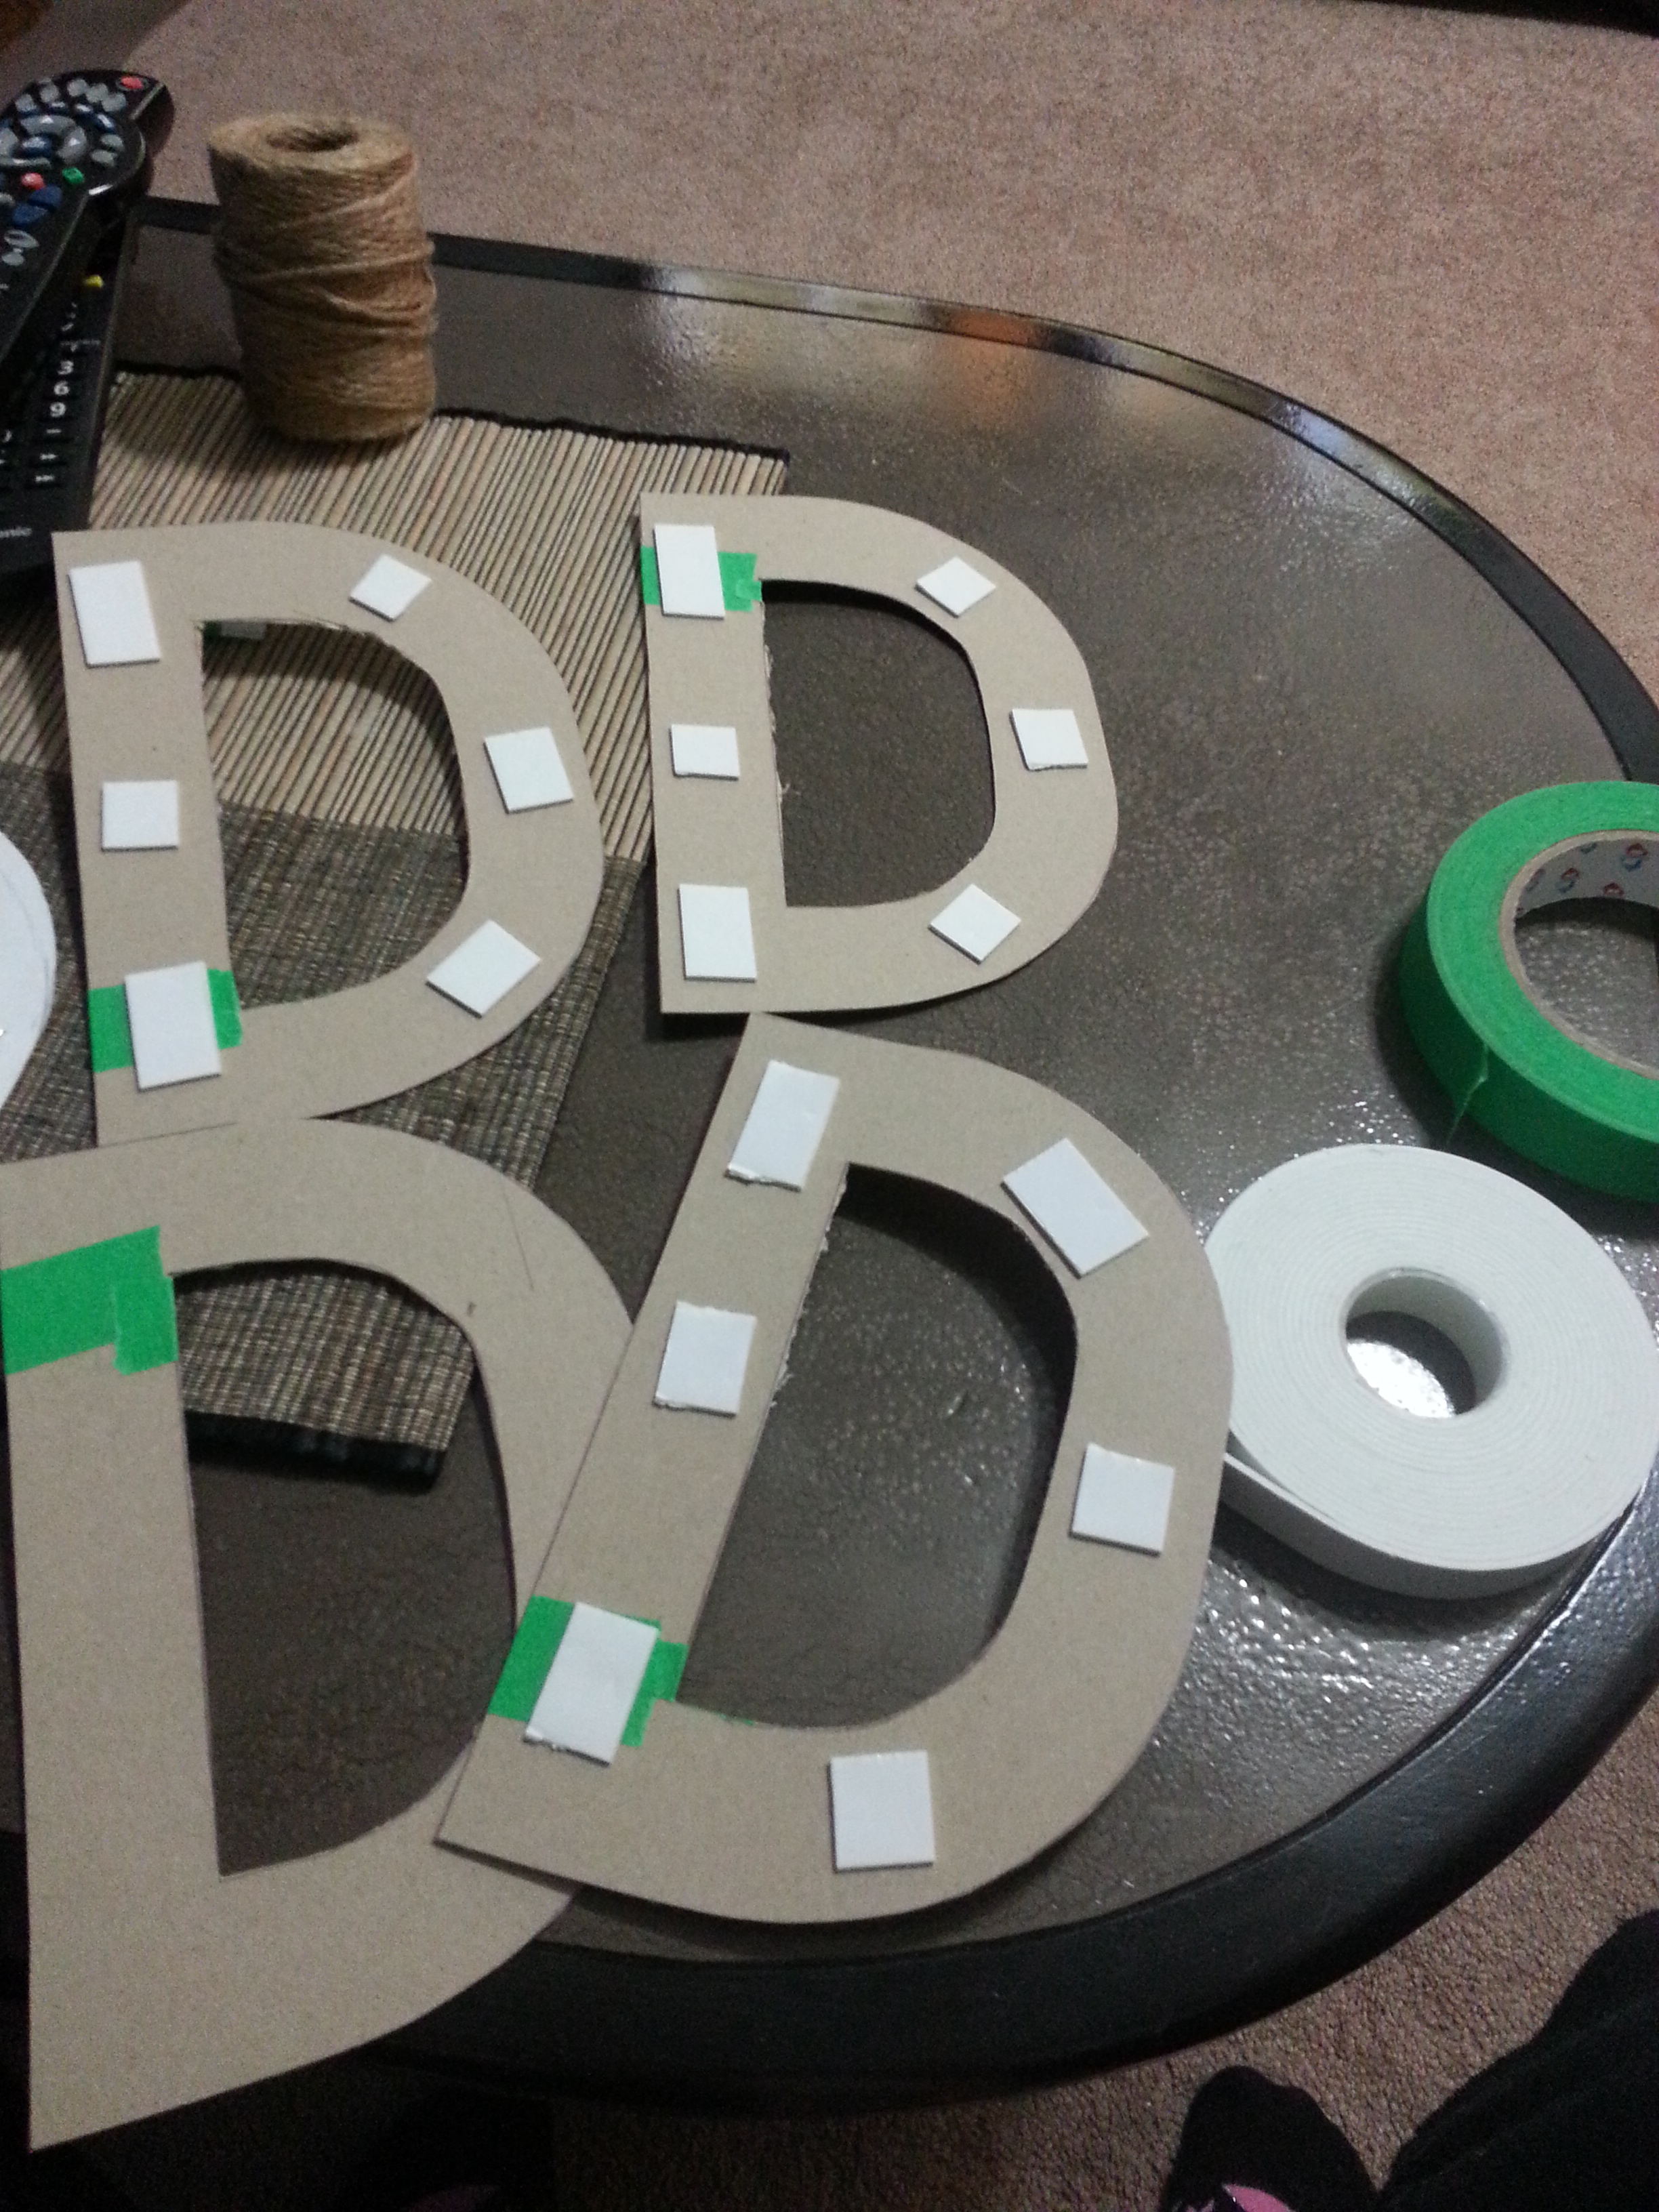
I cut out the center of the letter with my trusty razor blade (I finally picked up some replacement blades for my box knife after this project, lol) and traced it onto cardboard. I actually used an empty rice box because it was really sturdy, but corrugated cardboard would work well for this too and you wouldn’t have to layer it as much. I wanted it to be a lot thicker than just one sheet of cardboard so I ended up cutting out four letters to stack together. In between each letter I used mounting tape, which gave it even more thickness. If you wanted you could even just buy a wooden letter and skip all of the previous steps.

Then it was time to cover it! You can use any kind of yarn, ribbon, twine, etc. If you used just one thick piece of board you could even just paint it and leave it be. I used some twine because I felt like it went with the fall theme I wanted. I taped the beginning of the twine to the side of my letter and started winding it around. Letters that have holes in them are a little tricky because you can’t really fit the whole spool in there, so you have to work in sections. I made sure each new piece of thread I tied on was on the back of the letter. It was also really tricky transitioning from the curved part to the straight edge. I ended up just laying twine over the letter to fill in the spaces. I was stubborn and didn’t glue it, but I would definitely suggest you glue pieces down every so often as you go.


And then the letter was all done! I love when you finish one stage of a project and it just makes you that much more excited to see the finished product.
Phase two: The Wreath
There are several different things you can use to make your wreath out off. Hangers, pool noodles, picture frames. I originally picked up a woven basket at the Dollar Tree and thought that would be a cool wreath, but when I was at my trusty Dollarama I found pre-made wreathes that were cute, but not what I’d want hanging on my wall. They only had a couple of decorations hot glued onto them though and it was about the size I was looking for. I decided that the basket could stay and basket and I could just deconstruct this wreath and make it into what I wanted. Here’s the before and after:


I took one strand of leaves and wound it around the wreath but I really didn’t like how the leaves were just sticking out all over. I pulled off all the leaves that were on the back and started just hot gluing the leaves down where I wanted them. One of the strands had a couple of pieces of wheat and a cute little pumpkin, so I hot glued those on as well. I also wrapped some ribbon around it to tie everything together. To finish it off I glued on a couple of the flowers I picked up.
 After I got everything glued on where I wanted it I took the ribbon and looped it through my letter and tied it onto the wreath. Then I took a longer piece of ribbon and made a loop with a bow at the top to hang it on the wall. And that was that! I hung it up over the fireplace and I absolutely love it. I had quite a bit of leaves and things left over so I did a couple more decorations.
Other decorations:

I used the bowl/basket that I had originally got for the wreath and made a centerpiece out of it for the coffee table. I put some stones in the bottom to weigh it down so it wouldn’t move/get knocked over by the cats. I just added the candle to the middle and arranged left over leaves and the pinecone and berry decoration around it.
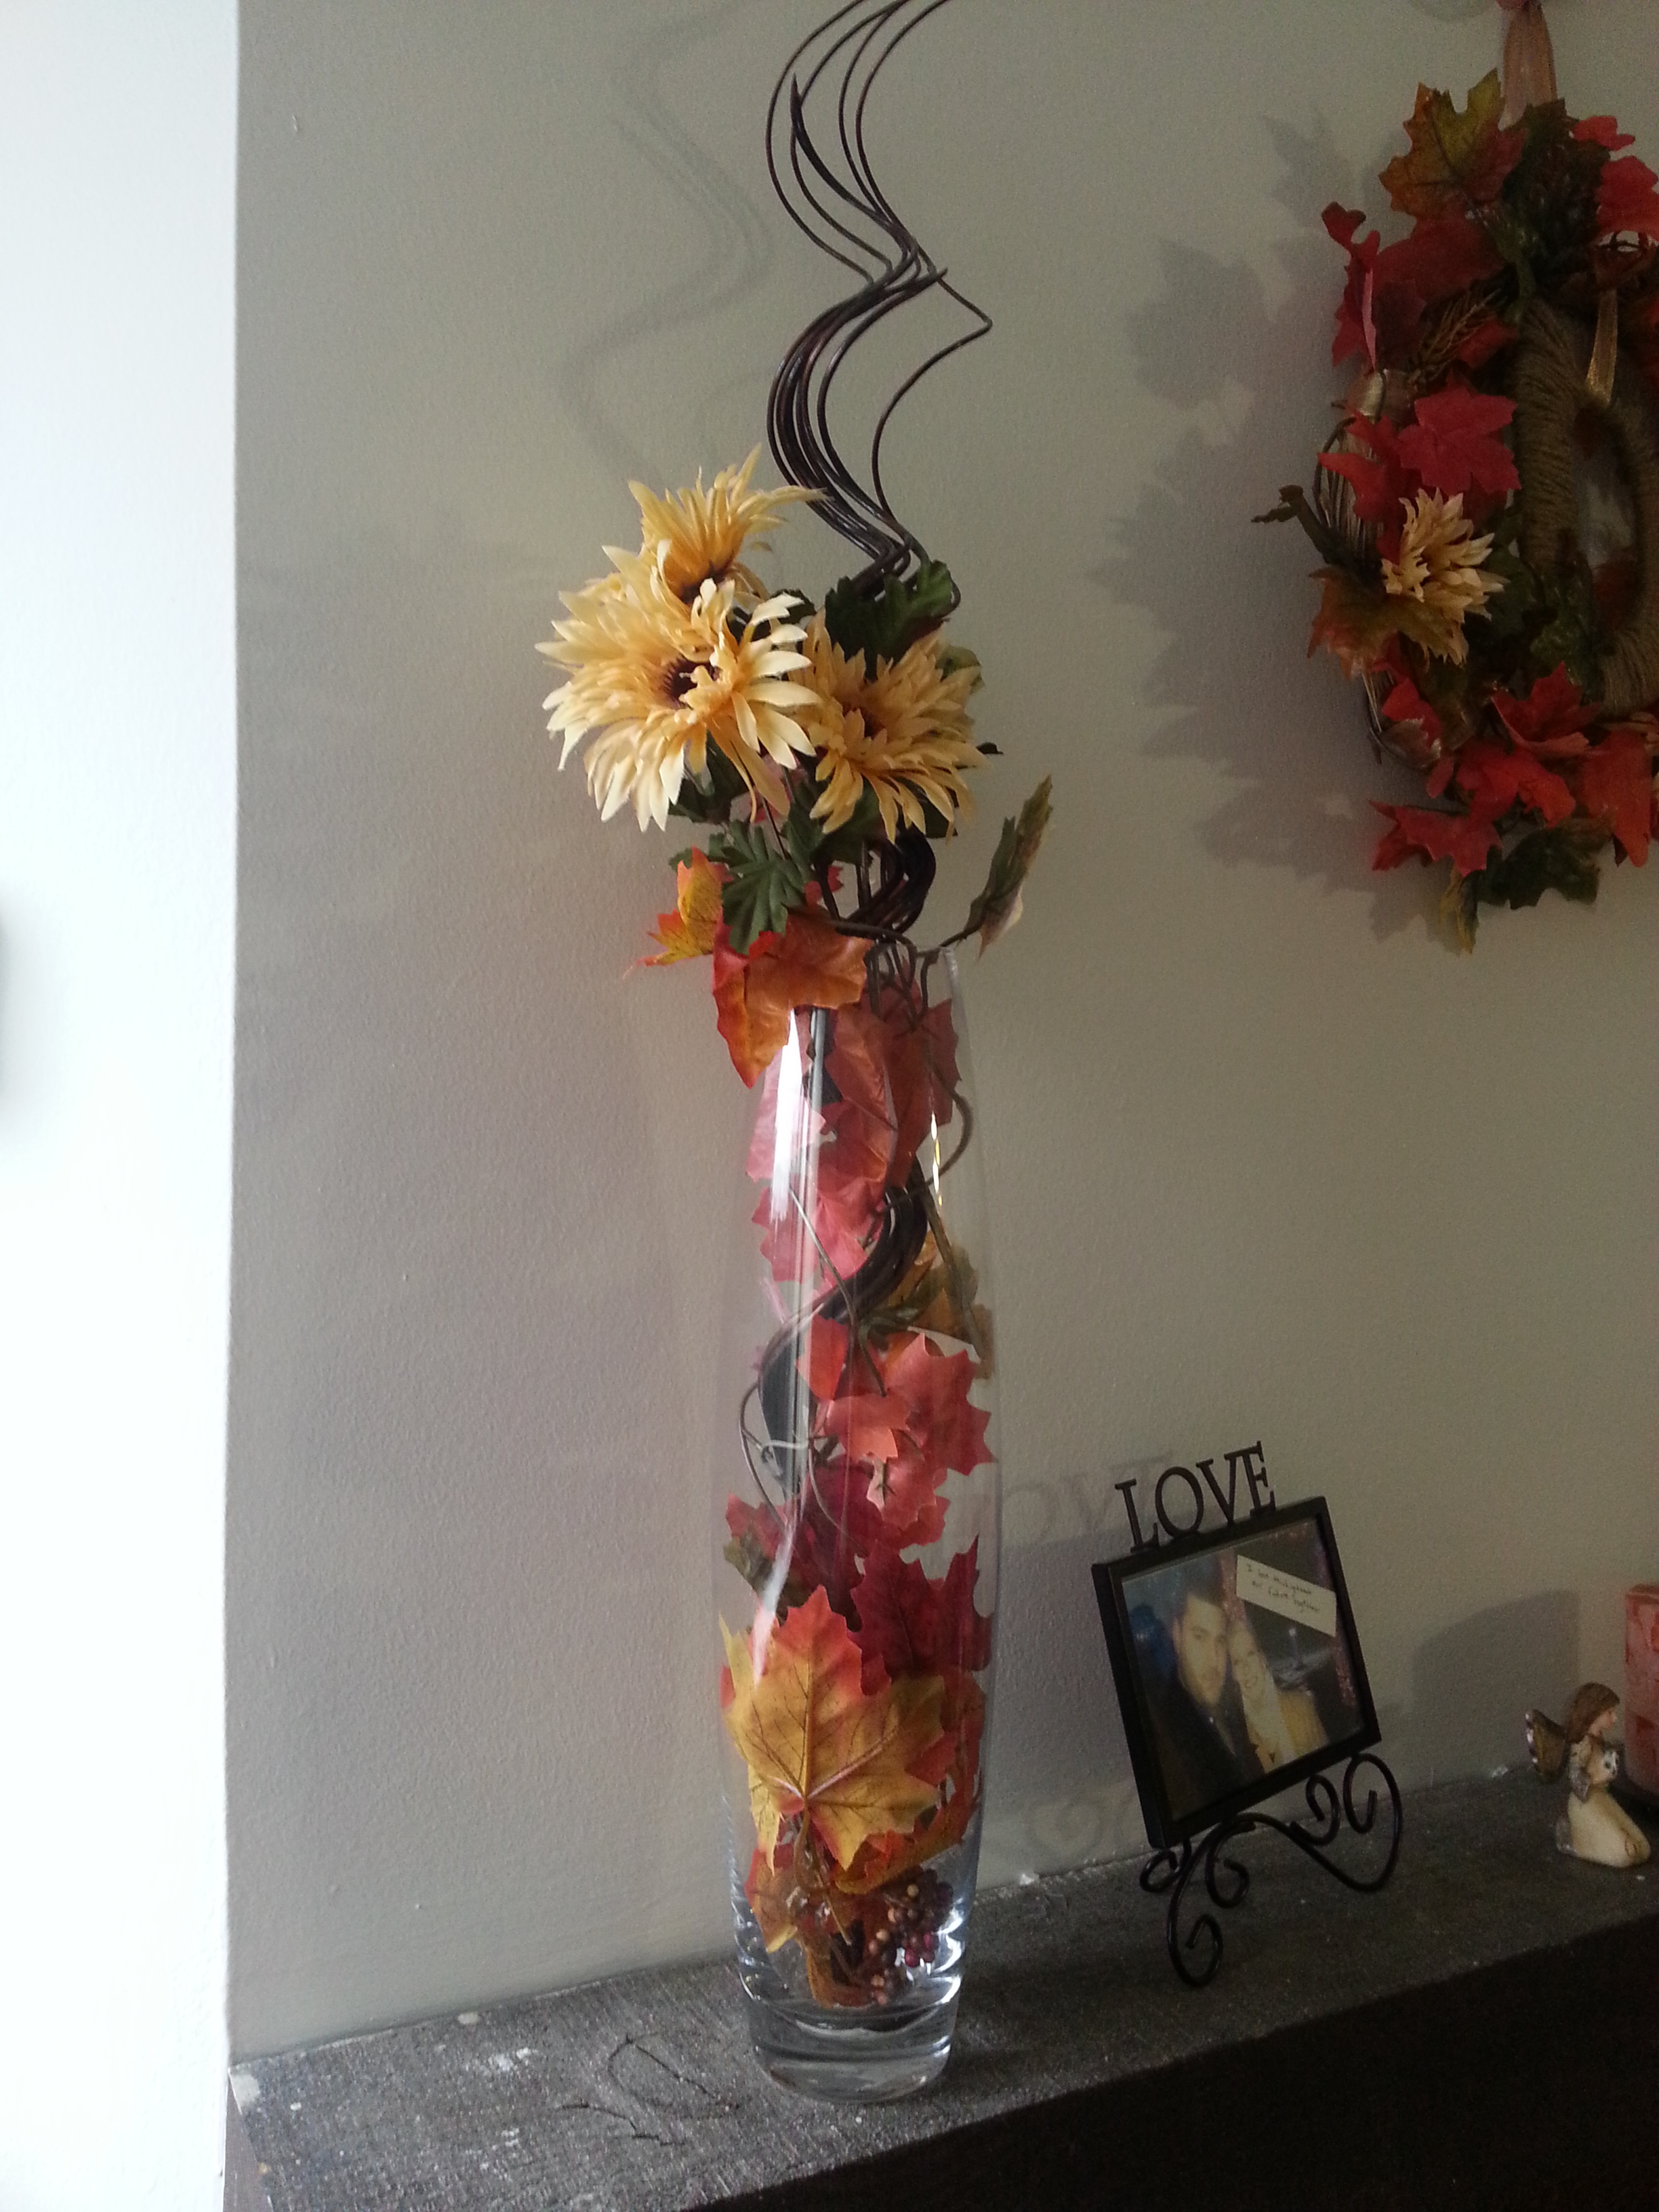
The final project I did was to update my vase on the fireplace. I got this vase soon after I moved to Canada and I absolutely love it. It is on our fireplace no matter what season it is and the one time the cats knocked it off I almost had a heart attack. I leave the ‘swirly twigs’ (I have no idea what they’re called, lol.) in there and just add different flowers and decorations to it. I wound the last string of leaves around it and added some extra leaves to the bottom. In the top I put all the extra flowers that I had.
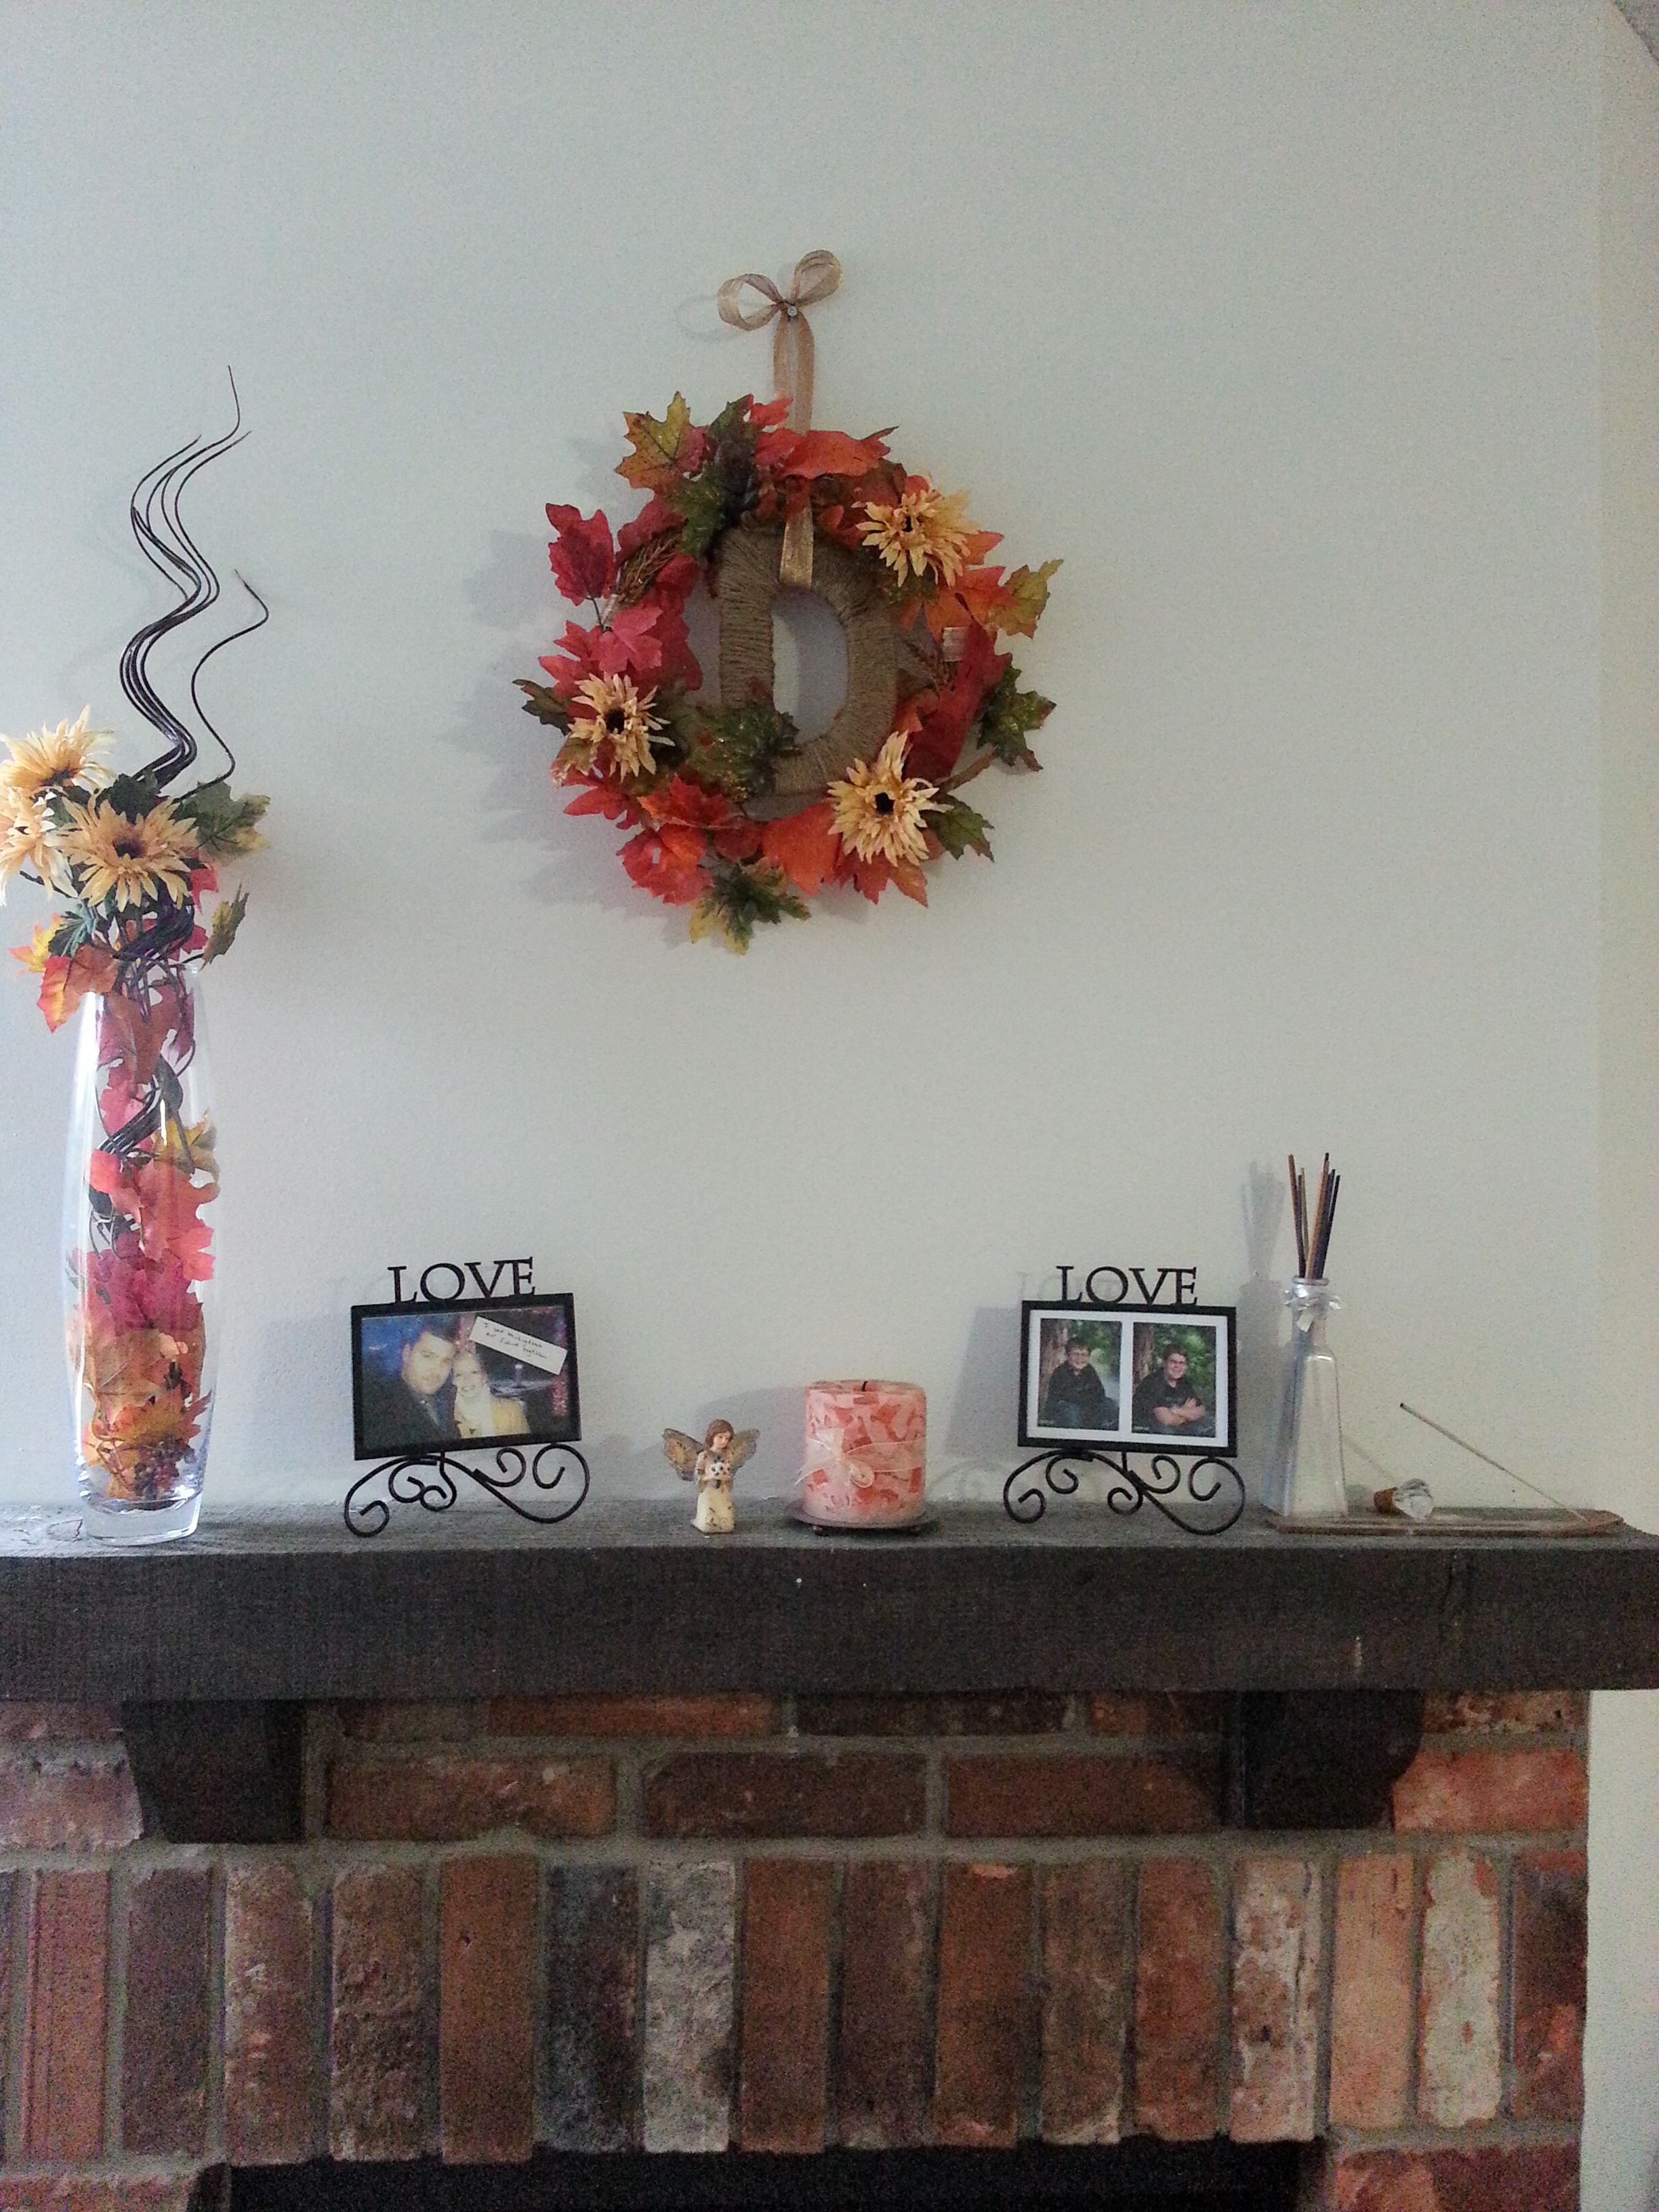
Here’s my fireplace mantle all put together and looking pretty! I love how everything goes together. The incense and holder I found at a dollar store somewhere while me and hubs were out exploring, and the bottle I got at Micheal’s as part of a $3 grab bag. All the rest of the things there are gifts that I love. I tried I don’t know how many times to get a clear shot of this but every one seemed a little grainy and I don’t know why, so sorry about that!
That’s all for now! Next post I’m torn between either making a photo frame collage for the wall or finding a creative way for covering up an old and unused phone jack in the kitchen. We’ll see next week!!
Love,
Amber
Related articles
- Fall Monogram Wreath (housewivesmag.com)
- Festive Fall Front Door Wreath (crissaclark.wordpress.com)
- Fall Wreath (alexatliberty.com)
- Quick D.I.Y. Home: Monogram Wreath (theblueswallow.wordpress.com)


Pingback: Beautiful DIY Wedding Centerpieces | crazyforus
Pingback: DIY Sunflower Wreath | momeefriendsli